



Naples Tubular Skylight Installation
A cheap tubular skylight job usually fails in two places: the roof penetration and the light path. In Naples, wind-driven rain, intense sun, and attic humidity punish shortcuts fast. Proper tubular skylight installation isn't just cutting a hole and dropping in a tube. It's choosing the right flashing for your roof type, routing the tube so it keeps its brightness, and sealing the system so it stays dry season after season.
Tubular Skylight is family-owned and operated, founded in 1994, and we install tubular skylights right here in Naples with quick, clean installs. Most units are installed in about two hours, with no drywall repair and no mess left behind. You'll get clear warranty coverage in writing: a 10 Year Product Warranty and a 3 Year Install Warranty.
What a tubular skylight does (and why it fits Naples)
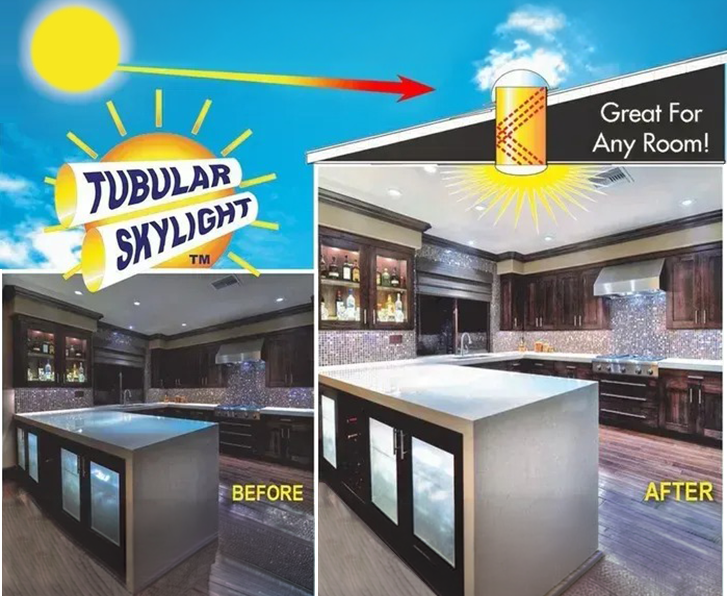
A tubular skylight brings daylight from the roof down through a highly reflective tube and into the room through a ceiling diffuser. Instead of a wide skylight opening, you get a compact roof lens and a small ceiling fixture that looks similar to a flush-mount light. The design matters in Naples: you get strong daylight where you want it, without turning your ceiling into a large heat-gain window.
These systems work best in spaces that are short on exterior walls or windows. Think interior bathrooms, closets, hallways, laundry rooms, and pantries. In homes with deep roof overhangs or covered lanais that shade windows, a roof-based daylight source can make the middle of the floor plan feel less cave-like during the day.
We install systems with 99% reflective silver-lined solar tubes to move light efficiently through the attic space. If you want control over brightness, we can include sunlight dimming capabilities so the diffuser isn't "all or nothing" when the sun is high.
Tubular skylight installation in Naples: how the work is actually done
A clean-looking finish depends on planning before anything is cut. Our process starts with choosing a roof location that captures sun while avoiding roof features and attic obstacles. Inside, we confirm where the ceiling diffuser should land so it lights the room evenly and clears framing members, recessed lights, fans, and other conflicts.
- Site evaluation and layout. We check roof access, roof pitch, and the attic path. The goal is a tube run that stays as straight and short as the house allows because bends and extra length reduce delivered daylight.
- Right-size the system. The tube diameter and diffuser style are selected based on the room and the ceiling height. We also choose the tube type and components needed for your attic layout, with more than 50+ product combinations available.
- Roof opening and flashing installation. We cut the roof opening precisely, then install the flashing assembly that mates with your roof covering. This is where leak prevention is won or lost. We use dual flexible flashing systems designed to integrate with common roof materials and to shed water the way the roof is meant to.
- Tube run and sealing. The reflective tube sections are assembled and sealed so they stay aligned and resist air leakage. Where the run needs to offset around framing or mechanicals, we use the appropriate elbows or flexible sections without turning the path into a light-killing maze.
- Ceiling finish and diffuser install. The ceiling opening is cut cleanly, the trim ring and diffuser are installed, and the area is left tidy. This is why most installs don't require drywall repair: the diffuser assembly covers the cut edge and gives a finished look.
- Final checks. We confirm the fit, seal, and light output, and we review basic use and care with you, including any dimming options.
Because the tube is self-contained and the ceiling opening is smaller than traditional skylights, the work is typically fast and controlled. "Quick" only matters if it's also correct, so we keep the details tight: square cuts, roof-appropriate sealing, and a tube path built to stay bright.
Picking the right tube, diffuser, and light control
Not all tubular skylights feel the same after installation. The parts you choose change how the light looks in the room and how well the system holds up on a Naples roof.
- Tube type and reflectivity. High-reflectivity interiors matter most when the attic run is longer or needs offsets. A duller tube can look fine on paper and disappoint once it's in a real attic.
- Rigid vs. flexible sections. Rigid runs usually deliver the strongest light. Flexible sections are useful when we need to route around framing or mechanical obstacles, but they're best used intentionally, not as a shortcut.
- Diffuser style. Diffusers spread light differently. Some prioritize wide spread, others a more focused look. We match the diffuser to the room's function so the result feels natural, not like a spotlight on the floor.
- Sunlight dimming capabilities. If a room gets bright midday sun, a dimming option gives you control without giving up the daytime benefit of a tubular skylight.
The "right" setup isn't the biggest tube available. It's the one that delivers useful light where you stand and work, without glare, and without forcing a risky tube route through the attic.
Water, wind, and attic humidity: what Naples installs must account for
In Naples, the roof details matter because weather arrives with volume and force. A tubular skylight is a roof penetration, so flashing is non-negotiable. We install the system as a roof assembly, not a patchwork of caulk. The goal is to direct water onto the roof surface and down-slope the same way the surrounding roofing does.
We also pay attention to attic moisture behavior. Warm, humid air can find its way toward cooler surfaces, and any weak seal can invite condensation issues. A properly installed tube stays tight at the roof and the ceiling, with components seated correctly so humid air isn't being pumped into the attic through gaps. If your attic has limited clearance or insulation crowding the tube path, we plan the run so the system stays aligned and the diffuser sits flush.
Material compatibility matters in coastal conditions, too. The right flashing system and correct fasteners reduce the odds of corrosion-related loosening over time. If you've ever seen a "quick skylight job" that relied on exposed sealant beads, you already know what happens after a couple of harsh seasons: the sealant breaks down, water gets where it shouldn't, and the ceiling tells on the installer.
FAQ
How long does a tubular skylight installation take in Naples?
Most units are installed in about two hours. Time varies based on roof access and how direct the attic path is, but the work is designed to be quick and clean, with no drywall repair and no mess left behind.
Will a tubular skylight leak during heavy Naples rain?
A properly installed unit is built to shed water like the surrounding roof. Leak resistance comes from correct flashing integration and a tight, complete assembly at the roof opening, not from piling on sealant.
Can you install a tubular skylight if my attic has ducts or framing in the way?
Yes. We plan the tube path before cutting by checking the attic route and selecting the right components for offsets. The goal is to clear obstacles without adding unnecessary bends that reduce light.
Is the light too bright at midday?
It doesn't have to be. We offer sunlight dimming capabilities so you can control brightness while still getting the benefit of natural daylight.
What warranty comes with your tubular skylight installation?
We provide a 10 Year Product Warranty and a 3 Year Install Warranty, so you have coverage for both the unit and the workmanship.
If you want daylight in a room that always needs the light switch, a tubular skylight is one of the cleanest upgrades you can make to a Naples home, as long as the roof and attic details are handled correctly. Request a free estimate through our contact page, and we'll recommend a tubular skylight configuration that fits your roof, your room, and the way you actually use the space.

